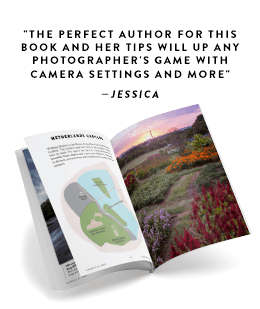


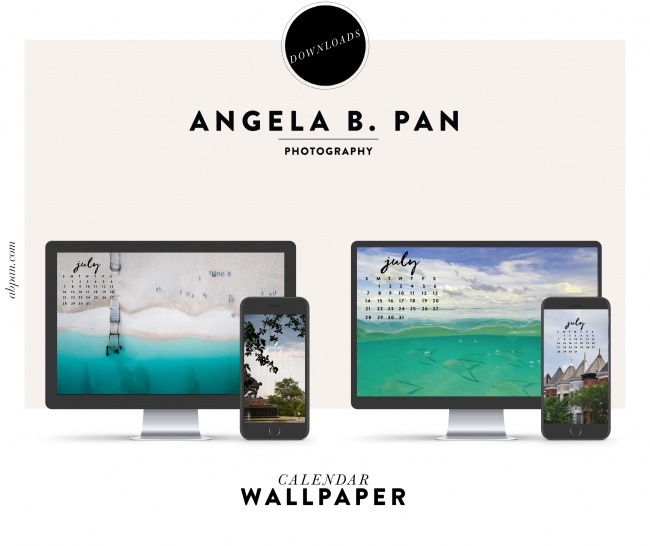
All photos available for print and licensing >
Tap and hold to save phone wallpapers, or click on the link below the desktop wallpaper to download the high-res version!


Tap and hold to save phone wallpapers, or click on the link below the desktop wallpaper to download the high-res version!
If you’re looking for the best spots to watch and photograph the sun setting in Washington DC, you’ve come to the right place.
The National Mall can get crowded, overwhelming and confusing. I’m here to help you navigate the park so you can get your best shots quickly and efficiently.
I’ve lived in the area my whole life and been photographing the National Mall for over 8 years. I’ve pretty much been to every one of these places at least 20 times. So here’s my complete list of the best to watch the sunset in Washington DC:
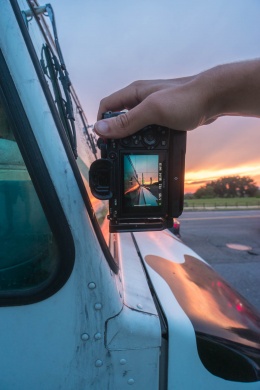
Because of the number of people that visit the National Mall every day, sunset is a little more difficult to navigate than sunrise. There are far more people, we’re talking busloads of people, so be prepared. That means if this is your first time in Washington DC, I’d highly suggest public transportation either by metro, Lyft or even an electric scooter! All are very convenient ways to get you around the Nation’s Capital.
Also with the number of people, I’d even say try to get to your sunset location earlier than you think you should. Who knows what kind of hang-ups you could possibly run into. If it were a cold winter day, I say you could get by with going 30 minutes early. On a beautiful summer day, I’d go as far as saying an hour before sunset would not be a bad idea.
And my number one most asked question, are tripods allowed? For the most part, yes, but you may run into some complications. If you’re in a densely crowded area like World War II Memorial or Lincoln Memorial, you will probably be asked to take it down immediately by Park Police. They can be a walking hazard and just get in the way of people. But if you’re in a more spread out area like the Washington Monument grounds or even the Tidal Basin, there is a little more elbow room so you could get away with it.
The United States Capitol is unique because it’s technically not a part of the National Mall. The last time I spoke to Capitol police they said tripods are allowed. Since then, other photographer friends have told me that the Capitol police asked them to take down their tripods. So I’m still pretty if-y if they are actually allowed. I tend to just bring my tripod to the Capitol and if I’m asked to put it away, I do so politely.
Now on to The Top 5 Sunset Locations in Washington DC:
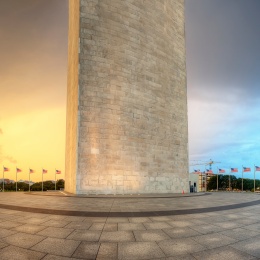
The Washington Monument is so iconically Washington DC and the tallest structure in the city. So because of that, there is no best time to photograph it. It can be seen from so many different vantage points around the city that the possibilities are endless. However, if you catch it at the right time, it can glow orange. It’s absolutely amazing if you see it.
In order to capture the glow, I’d recommend getting to your sunset location early and face east towards the Monument. I would suggest standing either in front of the World War II memorial or along the grassy area in front of the west side of the monument and maybe 30-40 minutes ahead of sunset will work. I think the closer you are to the monument the better the imagery. But the key is to be patient. The way that the sun reflects off of clouds and on to the monument to glow doesn’t happen every day but if you see it, it will make your travel images very unique.
Other cool places to see the Washington Monument: POV Bar at the W Hotel, Rooftop Bar at the POD hotel in Chinatown (I have a thing for rooftop bars), Netherlands Carillion in Arlington VA, or along the Tidal Basin.

The Washington Monument glows orange on a winter sunset evening.
So to help with my beach withdrawals, I’ve decided to go through some of my San Diego images from earlier this year. I love our annual tradition of going every year to celebrate the new year. I don’t think I could think of a better place for us to hang out for a couple of weeks. Plus Frankie loves running on the beach in the mornings.
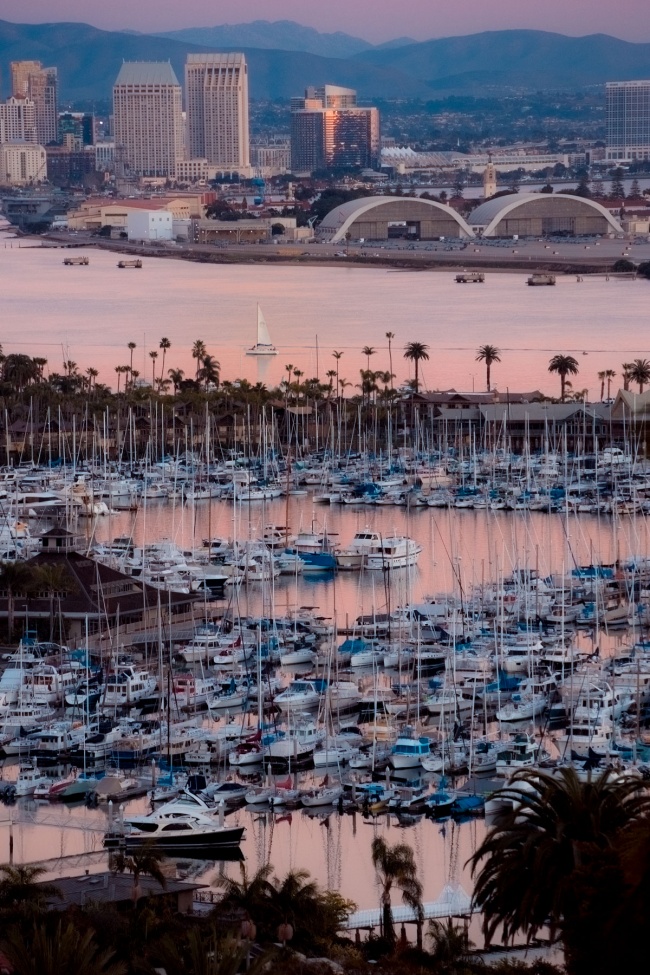
This image was taken at sunset in Point Loma. It’s a great place to go to capture the San Diego skyline but what I liked most about this image is that single sailboat just floating by. I tried my best to capture it so it wasn’t hidden behind any palm trees or anything. I wanted it to be seen with so many other sailboats just parked in the harbor. Plus the sunset was just right to add a little bit of pink in the water.
Major shoutouts to Frankie Foto. I’ve never met Frankie in real life but anytime I have any questions about what and where to capture images in San Diego, Frankie’s blog has been an amazing resource. If you ever plan on visiting Southern California, I would definitely recommend reading his blog first.
I’ve also created a blog post about my favorite photo spots in San Diego in case you were interested in checking that out too 🙂 I plan on updating this post every time I visit as I get to know the area better and better.
My camera settings for this image is F6.3 at 1/400th sec and ISO 400 with my Sony A7II and 70-200mm zoom lens.
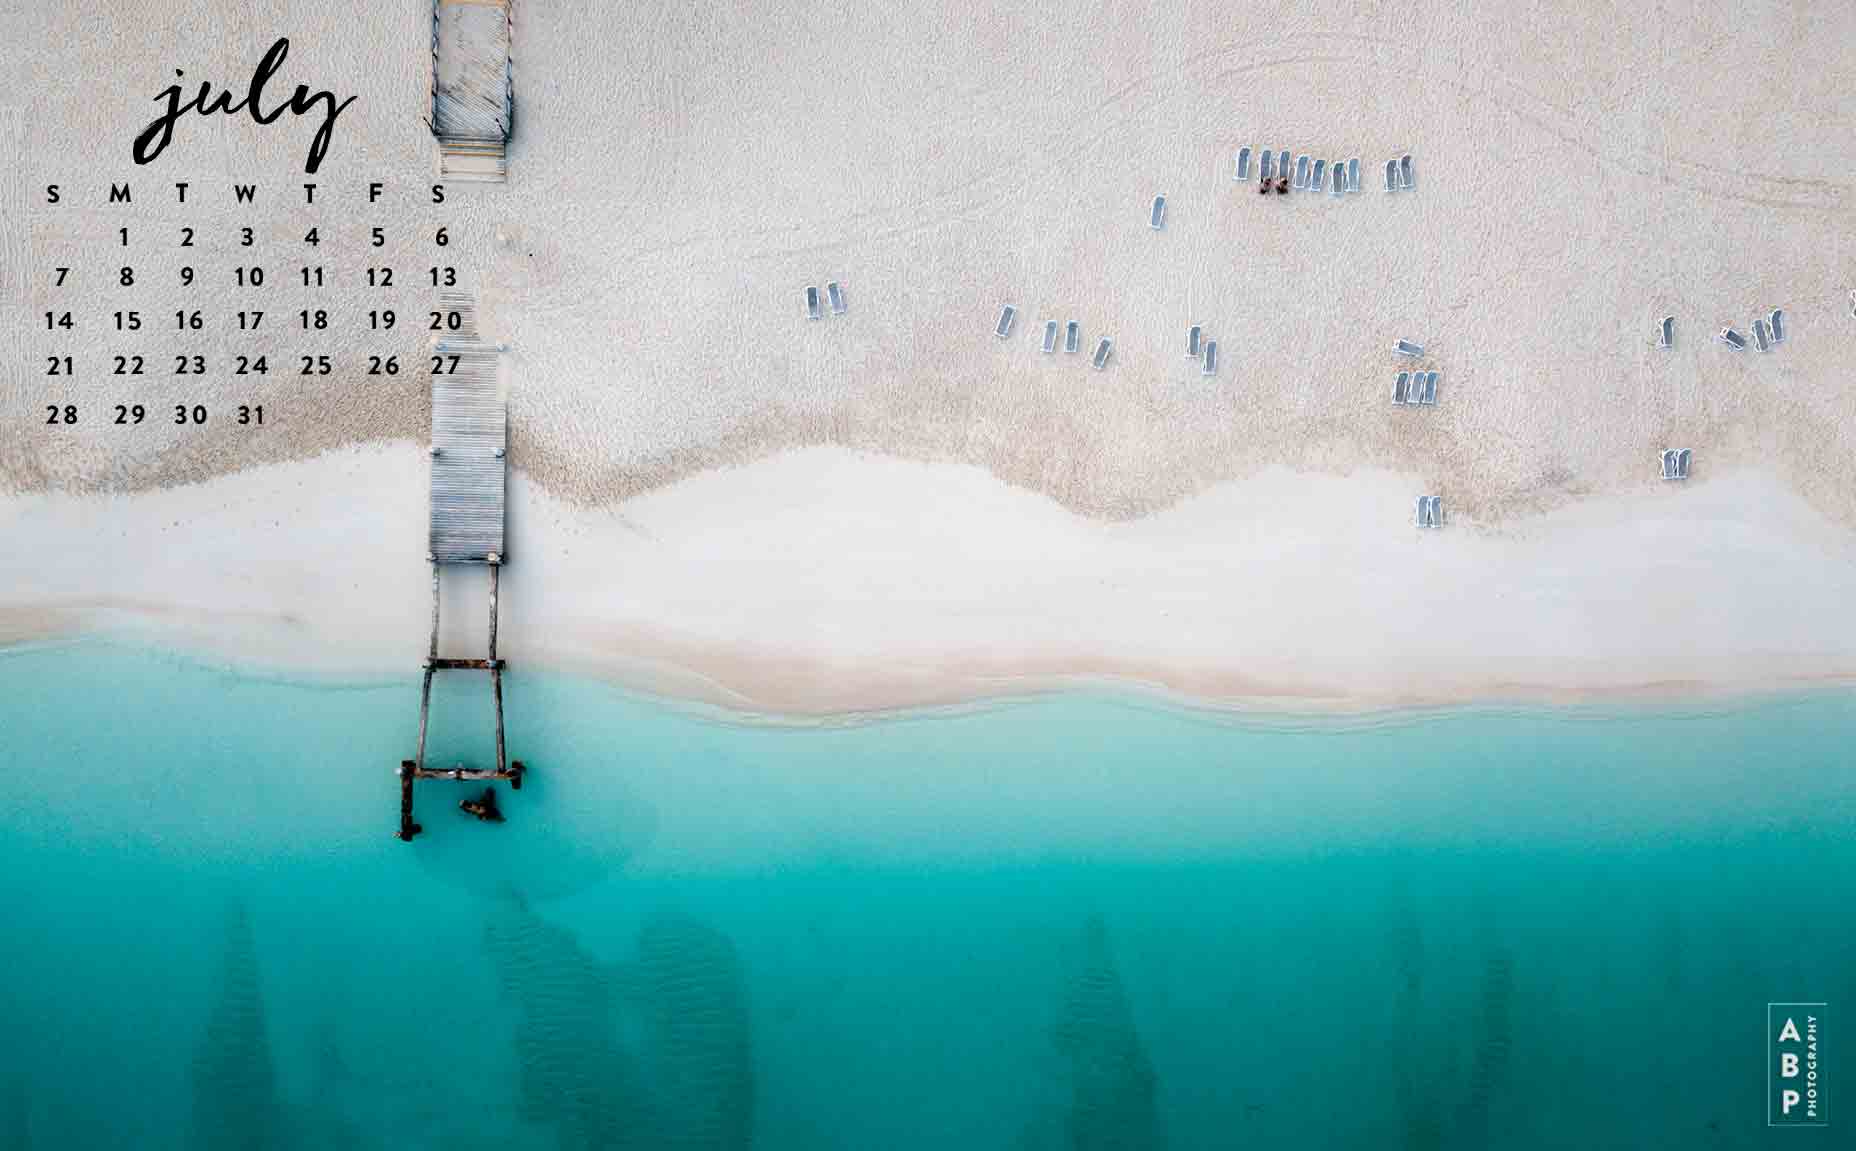
Guess what? Another drone shot. I’m obsessed with my drone. It is exciting to fly and to capture such different perspectives. Its almost like a whole other world that I’ve never seen before. I just wish there were more places around the Washington DC area where I could fly or else I would do it a lot more often.
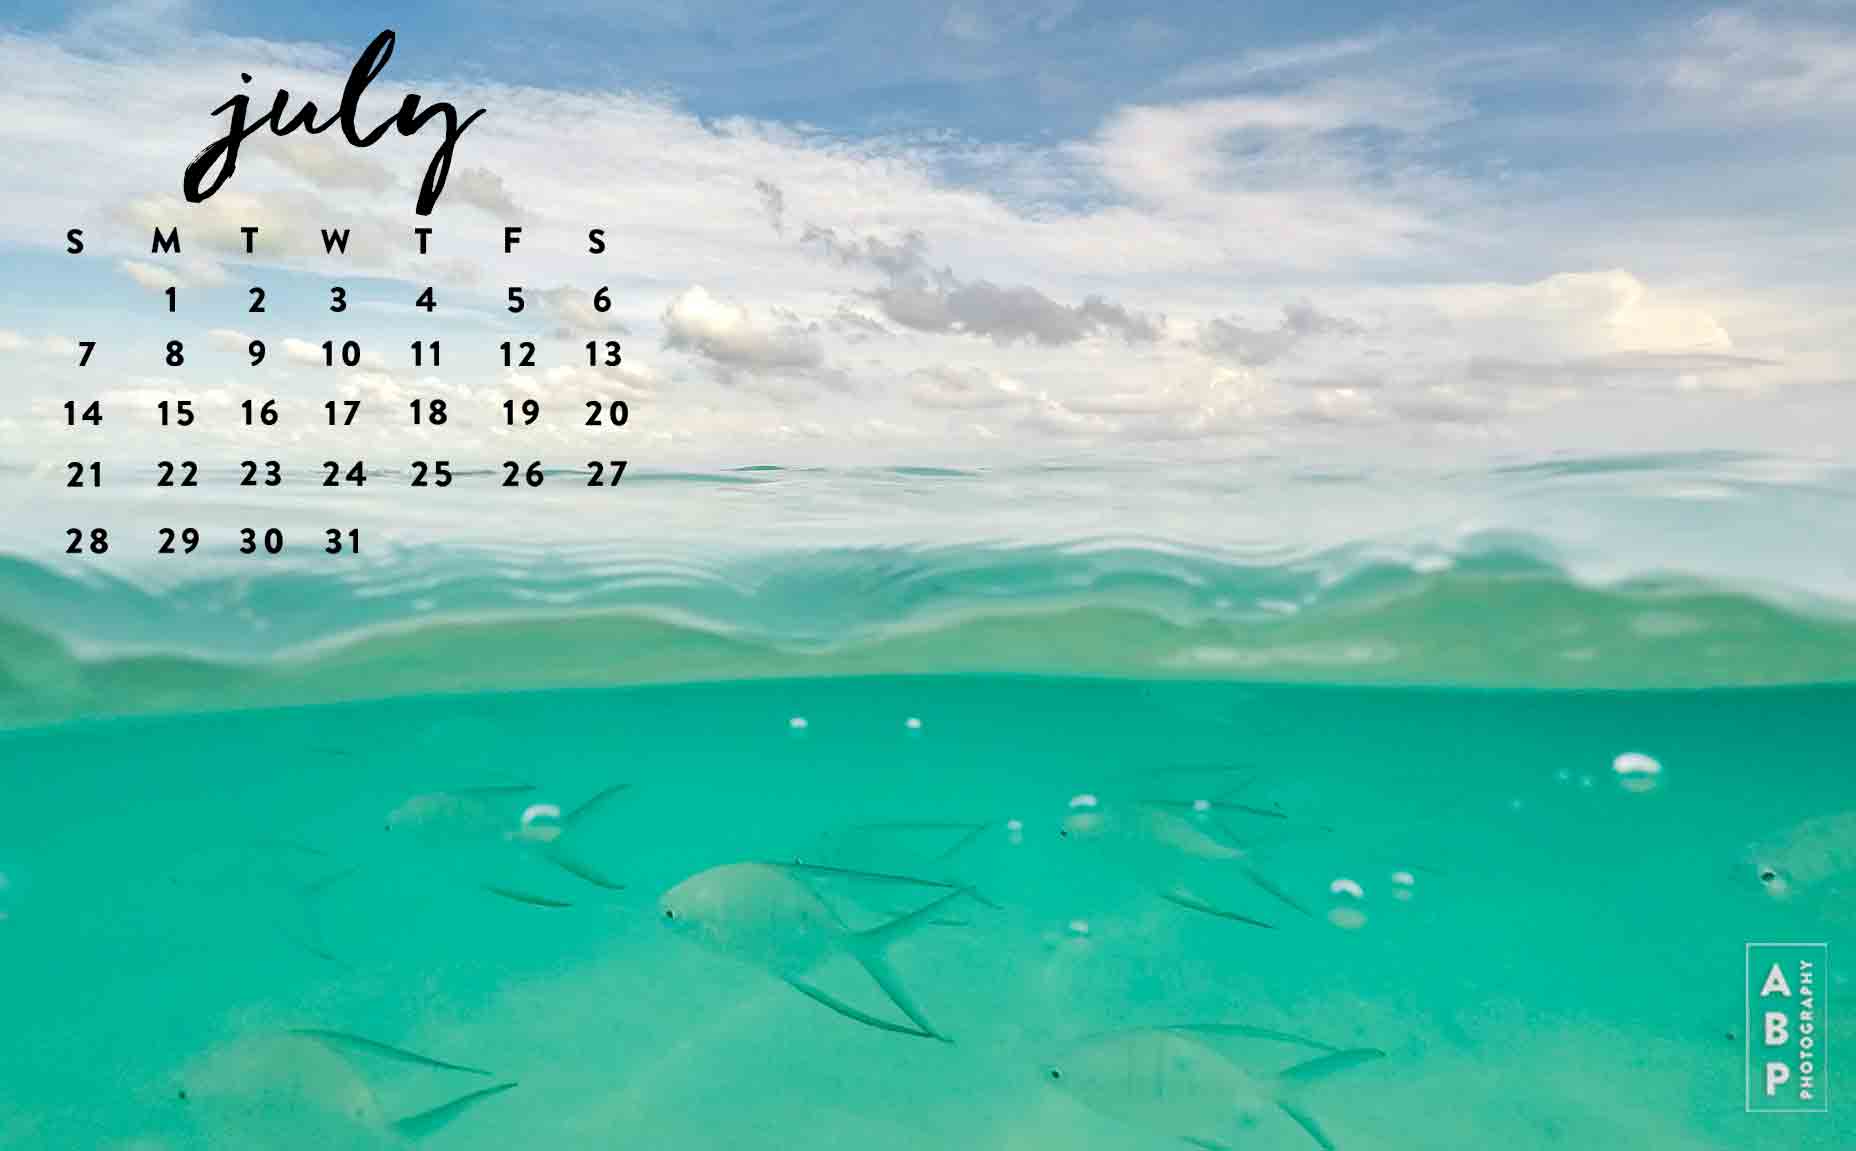
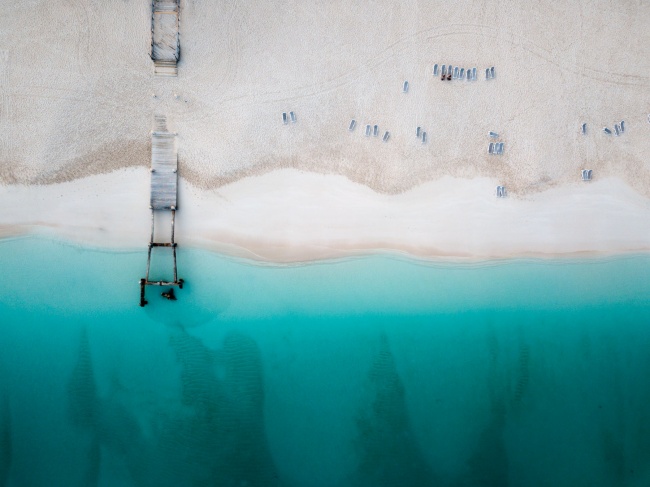
This image was captured around 6 am at Grace Bay in Turks and Caicos. It seemed like Andrew and I were the only ones who were up at that time which was awesome because we had the whole beach to ourselves. Can you spot us in this image?
My favorite part about this image is obviously the color of the water but I also think the little details are so interesting too. Like the lines in the sand created by the beach chairs. I also love how the beach chairs look so little in this image. If you saw us at all on our trip, we spent most of the time in that exact location just sunbathing. It was amazing.
I don’t know if you can tell but I’ve definitely been having some beach withdrawals.
And yes, that is an overhead shot of the pier I mentioned in yesterday’s post.
My camera settings for this image is F2.2 at 1/290th sec and ISO 100 with my DJI Mavic Pro
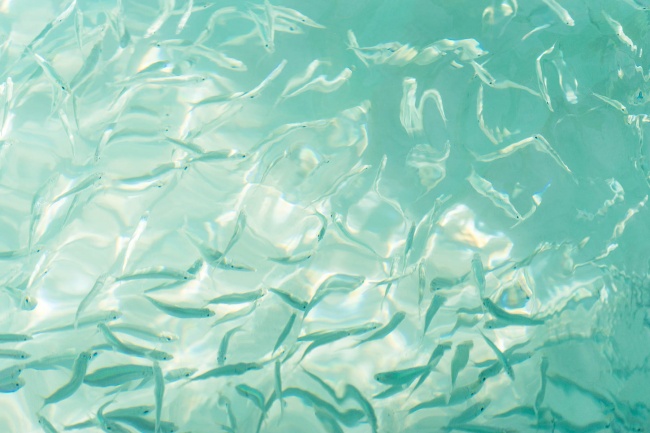
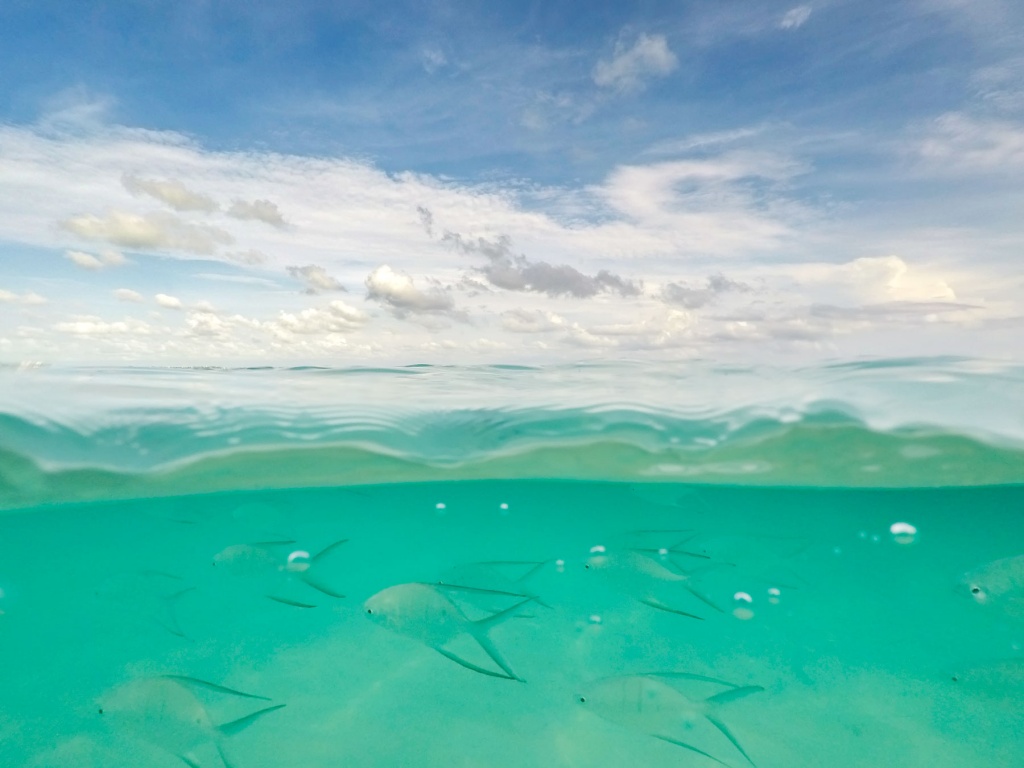
I thought this image was interesting because it could be two different things. Either the light reflections on the ocean water or a whole bunch of fish swimming by. Obviously, it’s fish but I’m hoping it made you look a little deeper into the image to figure that out.
I was standing on top of this pier when I captured this image. I took that pier image in 2015 and to this day, it still looks the same. Either torn apart or never finished but easy to walk along the planks. Andrew and I noticed other people standing on the pier and saying something about a Baraccuda. Obviously, we jumped up from our beach chairs and I grabbed my camera to go check it out. We didn’t see a barracuda but saw all these fish swimming around the pier in what seemed like circles.
I loved how the sun was hitting them just right and made the water look so transparent. It was difficult to see exactly what I was capturing through my camera lens because the sun was so bright but I think it turned out cooler than expected.
Even though we didn’t see the barracuda, I did see a dolphin, a stingray, and possibly 2 nurse sharks just from the beach. So very cool if you ask me!
My camera settings for this image is F4 at 1/4000th sec and ISO 320 with my Sony A7II and 70-200mm zoom lens.
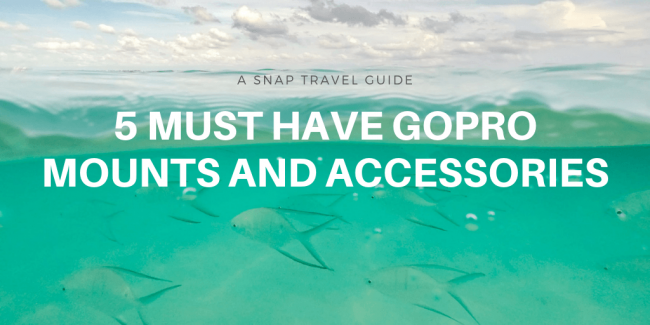
Here are my top 5 favorite GoPro Mounts and Accessories for travel and adventure photography.
If you are looking for a super simple way to capture water sports, time lapses or just have a different perspective for your images and videos, read on…
My personal GoPro journey started when I got the GoPro Hero 2 in 2011.
My husband, Andrew and I were starting to get more and more into scuba diving and I wanted to have an easy way to capture what we were seeing underwater. Of course, I could have gotten a housing for my DSLR camera, but it wasn’t really something I wanted to invest that much money in. In order to get quality housing for the camera, it had to cost as much as your actual camera. We don’t live near a beach so I was skeptical to pay thousands of dollars for something I could only use one or two times a year.
Plus who has time to mess with lighting, flashes, and settings when you’re just trying to scuba diving for fun. All the fishes would have swum away by the time you had your focusing correct.
Captured with a GoPro Hero 5 and the Fifty/Fifty Dome by PolarPro
So as an alternative I always had an underwater point and shoot cameras that lasted half a year. Or I would buy a separate underwater housing for point and shoot cameras. Even then the cameras never lasted as long as I thought they should have since they had been underwater. So that was reason number 2 why I didn’t want to risk the same thing with my DSLR camera.
But when the GoPro first came out, I remember being amazed. This tiny camera fits in the palm of my hand, it takes amazing pictures, AND I could take it underwater! Slap on an underwater housing with the red filter (to neutralize the color) and my underwater images were AMAZING! I was hooked ever since. Unfortunately, I can’t find any of those images of those early on videos. If I happen to stumble upon them one day, I’ll update this post. But this is not to say the quality of images will be the same as a DSLR camera underwater. This was just the easiest, solution for me. The DSLR images will be far superior.
I loved having a small adventure camera to go underwater or carry around with me and not worry about dropping or messing it up. Just the way that they are built they seem so rugged that can take falls, scrapes or pretty much anything you throw at it. Perfect to take anywhere if you just want to throw it in your backpack quickly.
Since the evolution of the GoPro cameras, you don’t even particularly need underwater housing anymore. The GoPro is waterproof and as long as you’re staying above 33 ft (10m), you should be good to go without any kind of underwater housing. But with housing, you can go down to 196ft!
The best part about GoPro cameras is all the different mounts and accessories that go along with the camera. OMG, the possibilities are endless and SO MUCH FUN.
I may have had the GoPro Hero 3 as well. Now I’m at the GoPro Hero 5 Black. I love this little camera.
Side note: In my opinion, I would skip out on the Accessory Kits you see on Amazon. There’s just so much in them and I’m pretty sure you won’t even end up using half of the screws and mounts that you get with them. It will just end up as a pile in your closet.
After using your camera a few times, you’ll get an idea of what kind of images you’ll want to capture and just purchase those mounts or straps that will help you accomplish that idea.
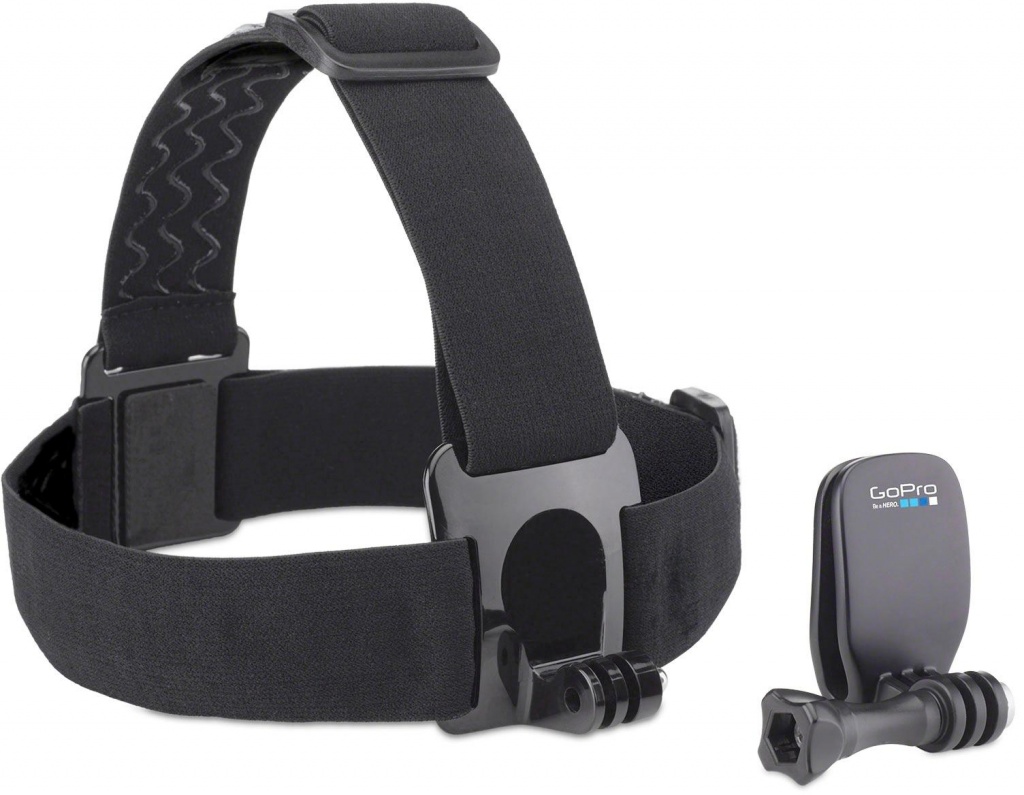
GoPro Head Strap and QuickClip
You may feel a little ridiculous walking around with this thing on your head but the unique perspective is my favorite part. I love how it keeps you hands-free PLUS you can include your hands in the shot. That way your viewer can see exactly what you’re doing. Perfect for any kind of tutorial videos or just giving your viewer a little more personal view of what it’s like being at your travel location. I used to use this strap a lot when we were scuba diving but now I use it for fun photo walks or on long hikes in mountains.
Click here to view the head strap on Amazon.
Here’s a video example of what it’s like with the head strap perspective. Start at 0:44.