


Whether you’re going for fun, to visit family or to break out of your everyday normal routine, we all want to create memories that will last a lifetime while traveling. Capturing images with your camera is the best way to relive those memories and share them with loved ones when you return home. So grab your mobile camera or a DSLR, these are some of my best tips to make sure you come away from your travels with images you are proud of. And you don’t even have to be a professional photographer to capture them. It may take a lot of preparation work, but in the end, it will all be worth it.
Plus photography is super fun 🙂
1. Scout Photo Locations From Your Computer
One of the best ways to start preparing for your trip is to start planning all the beautiful sights you want to see before you leave. But if it’s your first time visiting a new place, all the options and maps can get a little confusing. Scouting out various photo locations and points of interest before you leave will help reduce stress. It will allow you to not waste time on your vacation and you could hit the ground running as soon as you arrive. Plus if you’re going to a very popular tourist destination, you can be prepared by obtaining tickets and plan for events in advance and not have to worry about lines.
So here’s what I like to do before I even leave on my trip, I like to begin my research on social media.
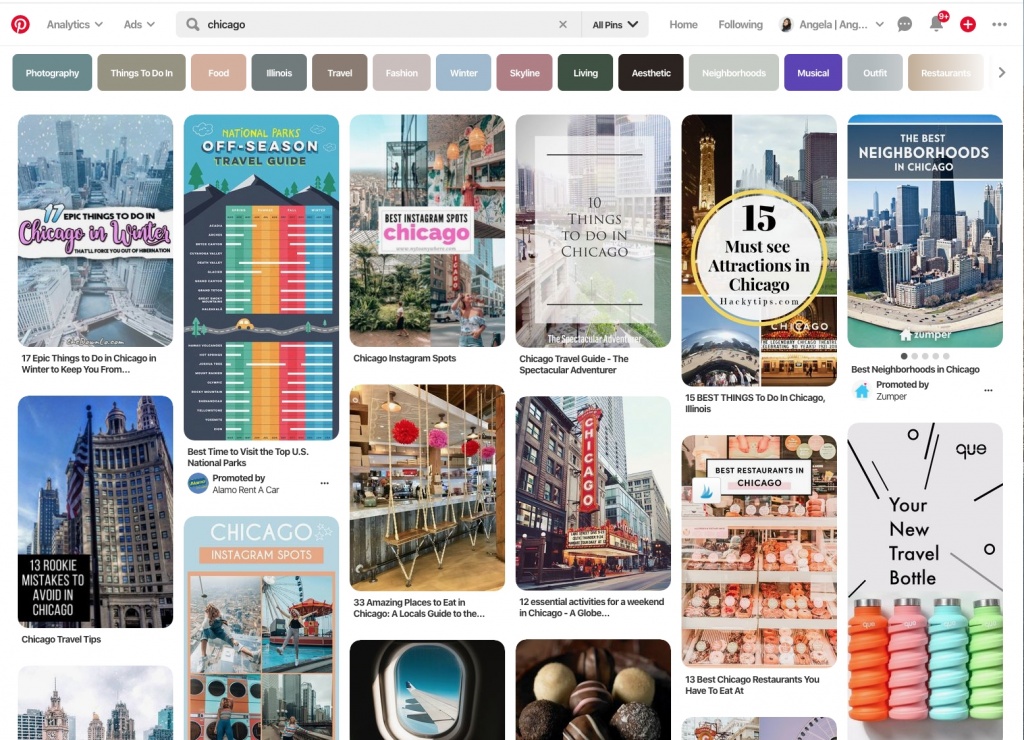
Instagram. Since I’m on the social media app often, this is usually the first place I turn to. I start looking at what other photographers who have visited are sharing with their networks. On the mobile app, I click the bottom menu for the search button and start typing the place I’m visiting. You’ll notice that a menu located right below the search will pop up. Click “places” and you’ll see all the top and recent images and videos of people who have geotagged the location you’re interested in seeing.
You can also check out tourism boards and local photographers to the places you are visiting on Instagram. These can usually be found under the accounts tab underneath the search bar. Hashtags are another great tool that may lead you to find even more than you thought that are found under Tags. Just a warning: it can end up becoming a dark hole of beautiful images and videos.
The desktop computer version is a little different. As soon as you type your travel destination, accounts, hashtags, and the geolocation will automatically show up in the dropdown menu (similar to what it looks like in the top selection on the mobile app).
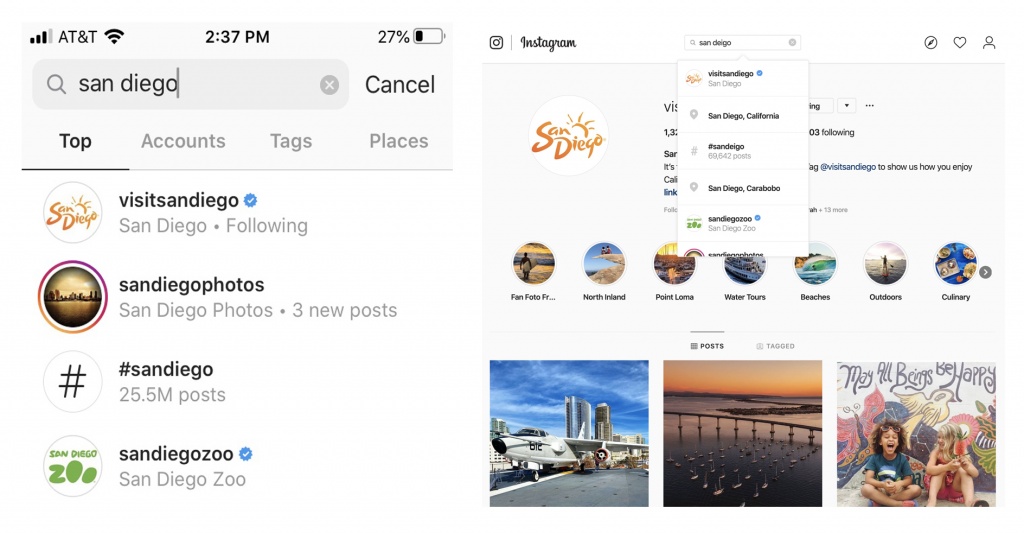
(Left) Mobile version (Right) Desktop Version
From there, I’ll “save” all the images and videos that interest me by clicking the little bookmark icon on the bottom right of the post under a collection that I’ve specifically created for my upcoming travel.
Pinterest. 9/10 there will be tons of information from bloggers who have already visited your location with off-beaten paths and lesser-known places. A lot of times, they will outline their exact itinerary that makes it super easy to plan our own. Pinterest is definitely my #1 source to find travel information. It’s filled with beautiful images and I love saving all the pins I find in a board that makes it easy to reference, just in case.
Ask friends. Besides social media, tell your friends about your upcoming trip and see if they have any suggestions. They are your friends, right? They should know your interests and the type of things you like doing. I’ve also found that a lot of times they know someone else who has been who can also shed some light.
Trip Advisor. If you feel like you have an off-beat question about your travel location, forums are a great place to ask them. Trip Advisor is my go-to travel board to ask, especially I’m traveling internationally. You’ll usually get an answer within a day.
At this time I’ll also create either a Note on my phone or a new Google Doc with all the information I’ve found. This ends up becoming my master list of hotels/airbnbs we’re staying and a loose itinerary for each day we are gone. But at this early stage of planning, it’s really just a brain dump of all the information I’ve found from my internet research.
Google Maps. Once I’ve figured out all the places I want to go and have a more set plan of what each day is starting to look like, I start a google map. This is the perfect solution for me because it allows me to see visually see how close each location is to each other, color code them by places not to be missed, places you want to eat, places to go if you have time, etc. My favorite part is the ability to add notes to each of these pins and maybe a picture you found on the internet that will remind you of the reason why you want to go to this place.
Here’s a map I created last year for our trip to Oregon as an example. We did a round trip around the state flying in and out of Portland. I labeled all the places I wanted to take pictures, some restaurants along the way and a few hiking trails. You can see how useful it was since we were in the car most of the way and I could just click on the icons to see where to next. The nice thing is that Google will automatically fill in the contact information or even website just in case.
2. Practice Before You Go
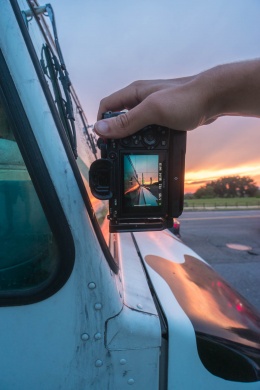
A new trip means new photo gear right? Before you start going all crazy on your Amazon account, try to figure out the exact camera gear or accessories you will need well in advance so you have time to practice with your new gear before you go. The worst thing to do is fumble around with camera gear and miss a photo opportunity.
For example, if you are planning a beach vacation, you get the exciting idea that you want to get some underwater gear for your camera. Try to test it out before you go. Make sure you have everything you need and everything is actually water-sealed before you go snorkeling. Nothing is worse than getting water in your camera. TRUST ME! So even if you have to test it out in your bathtub, make sure you are comfortable with your new gear and don’t forget that sealing wax.
Practicing your photo compositions will help as well. Consider taking a photo walk around your neighborhood or an adjacent city. The more you practice with your photographic eye, the happier you’ll be when you’re on that once of a lifetime trip. My favorite photographic elements to look out for are leading lines, repetition, and framing. A separate blog post about this is coming very soon and promise to link it here!
3. Pack Everything You May Need. Just Don’t Go Overboard.
It’s easy to throw all your camera gear and accessories into a backpack. Even those accessories that you haven’t used in over 5 years. “Like what if I’ll run into a situation where I’ll need ALL those UV filters for my camera lenses”. If you don’t use them on your everyday photo excursions, you won’t need them while traveling. Don’t go crazy with your gear. Remember, you’ll be carrying all that gear around with you all day. Try to limit yourself to the essentials. I know it may be hard and often times and I have to admit that I may pack just a little extra and keep somethings in the hotel just in case. Otherwise, be mindful of how much weight you’ll actually be carrying. In the end, you want to have fun taking pictures and not have backaches that keep you away from that.
Sidenote: I’ve also found that creating a packing list on a google document makes sure that I have everything I need. I rarely forget a battery charger or lens cleaner because of it and I can always go back to it so I don’t have to create a new list every time I travel. Even though I won’t need EVERYTHING that’s on that list, I know I won’t forget anything.
4. Tell Your Travel Companions About Your Intentions for the Trip
If you plan on taking a million and one photos, spending the majority of your time looking out for those photo opportunities, be sure to tell your travel companions your plans. This will hopefully clear up any future confusion about what is going to happen on the trip and prevent some future bickering. Also, be mindful of what they are trying to get out of the trip. I like to discuss all of this before the trip so I can weave in what they want to do with what I want to do. Split up the day or I will try to wake up earlier than others and make it out to sunrise. That way I get the shutterbug out of me for the day and have the rest of the day for other plans. That also could mean staying up later too! Either way, open communication will be key for any kind of travel.
5. Photograph Moments in Between and Details
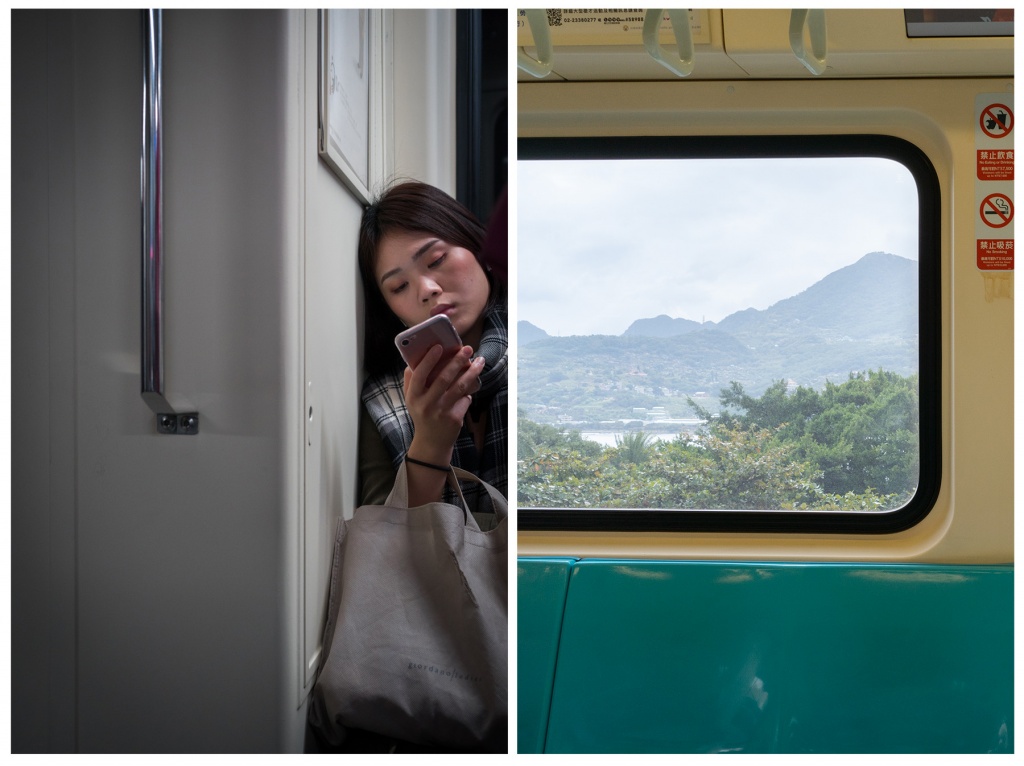
Moments from the MRT in Taipei. (Left) A passenger plays on her phone after a long day. (Right) The view from the MRT stop that I would take daily.
So once you’ve arrived at your destination, I’m sure you’ll want to waste no time and get to picture taking. Especially with digital and mobile cameras, it’s so easy to just keep snapping. I highly encourage it! Photograph anything you find that makes you smile or stop in your tracks. I often find the images of little details end up being my favorites from trips. Even if it’s just a quick snapshot from my iPhone, if it made me smile on my trip, it will make me smile when I get home.
With that said, as you are planning your itinerary, leave time to wander around in your locations. You could get lost or something could be so remarkable that you don’t want to leave. I try not to over plan, especially if you are traveling with someone else who may have other objectives for the trip.
6. Don’t Put Your Camera Away
This always happens! Something super inspiring or beautiful will happen and I’m always fumbling through and rushing to get my camera out of my bag. I’ve learned to not put my camera away until I’m back in my hotel room or sitting down in a restaurant to eat. If I’m comfortable enough, I may even put my camera on the chair next to me. LOL. But seriously, pack extra batteries or an external power bank.
A good strap will also make sure your camera is safe and easy for you to carry it around. I use the Peak Design Clutch strap on my Sony DSLR. It’s great and it means I’ll always have my camera in my hand. But, that also means my camera I ALWAYS have my/a camera in my hand. It doesn’t allow me to carry much else like if I wanted to stop and get a bottle of water or something. Most of the time, I don’t mind this inconvenience but if you aren’t into that, a traditional neck strap may work better.
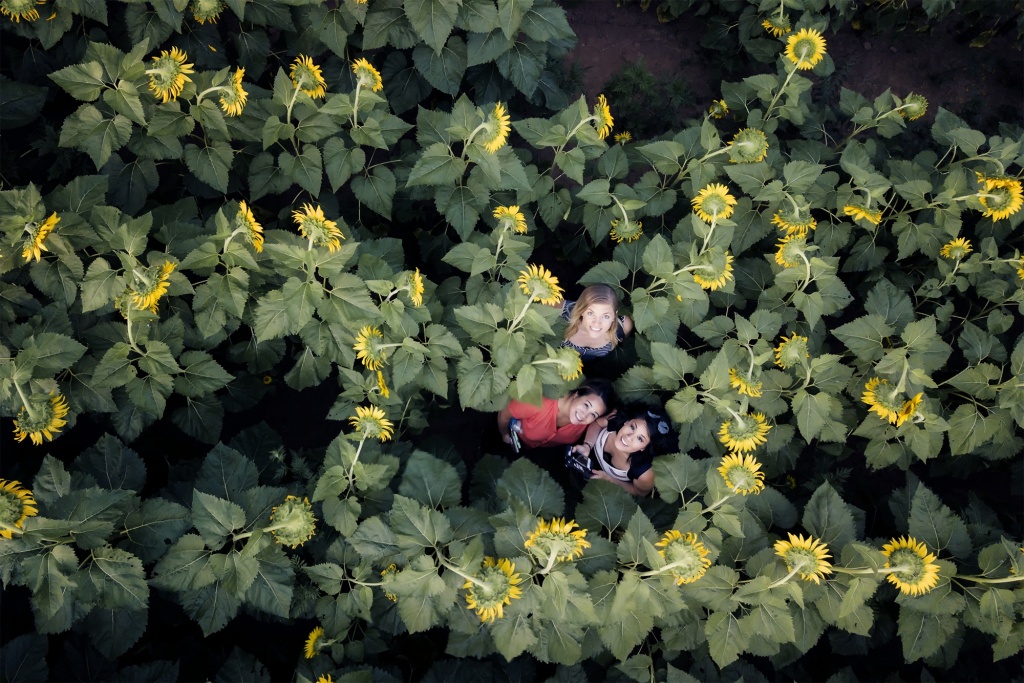
7. Take a Selfie
I think taking a selfie is something a lot of photographers forget about. I know I do. I’m so concentrated on taking pictures of everything I see that I sometimes forget to turn the camera on myself. Selfies really take you back to what it was like experiencing these new places but to up your travel photography game, put yourself in the environment. It helps tell a better story and helps to express what you are actually feeling at that moment. Whether it’s with a smile or a sense of wonderment, a selfie can add more life to an image.
I personally think holding a camera up with your arm doesn’t give you much information about the environment you are in. Are you in Norway or are you in your own neighborhood? I can’t tell! And are selfie sticks even a thing anymore? You could always ask another tourist to take your picture, but there is no guarantee on how well that will turn out. So I like to take matters into my own hands.
Mobile Phone: prop your phone on a rock or something stable, get someone to stand where you will eventually stand or have some kind of mental marker of where you are going to stand, start your self-timer and then run in front of the camera like no one is watching. In general, the back camera is better than the front (selfie) camera.
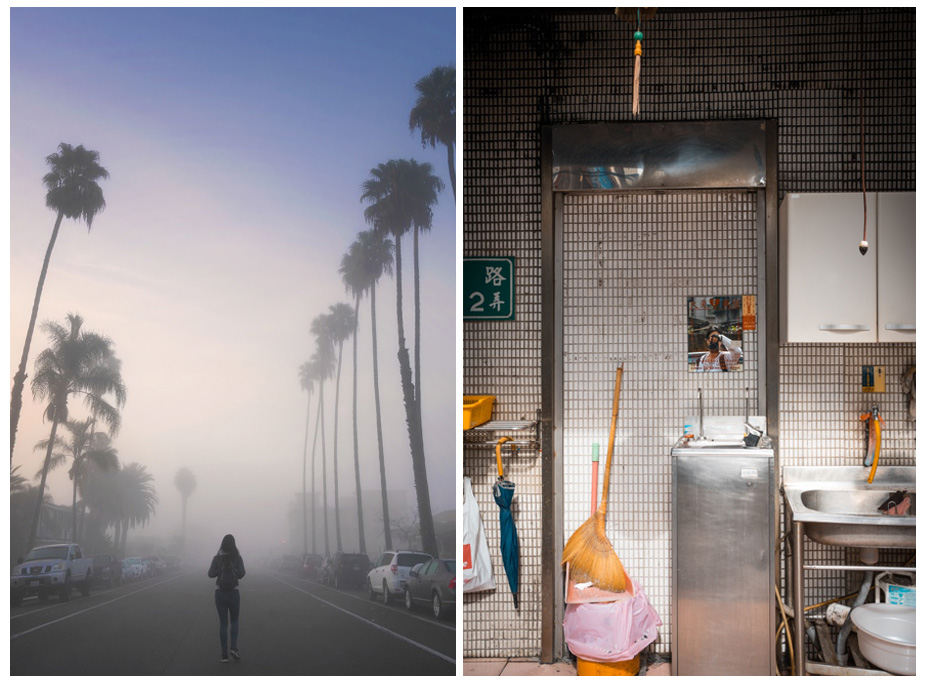
(Left) Captured with on a tripod and self-timer in San Diego, California (Right) Captured when I found a mirror hanging in a kitchen in Taipei, Taiwan
DSLR with a Tripod: use the timer setting on your tripod. If you have a time-lapse program or remote, that’s even better! Let that time-lapse run so you can work it in front of the camera with different poses. That way you have plenty of options to choose from.
Do it Yourself: However, my personal favorite technique when taking a travel selfie is to find a reflective surface that will allow you to capture you with your camera. I think it’s a more accurate depiction of what it’s really like to travel. You don’t have to do anything extra and it really shows off the environment you are in.
So I hope these travel tips and tricks help you. These are the exact steps I take to make sure that I create the best possible images. Since I’ve started preparing so much before travel, I have found that I can just concentrate on having fun and taking pictures while on vacation. I know there are other ways of preparing, so let me know if you have any additional tips in the comments below!
Safe travels and happy snapping!