tips

All photos available for print and licensing >

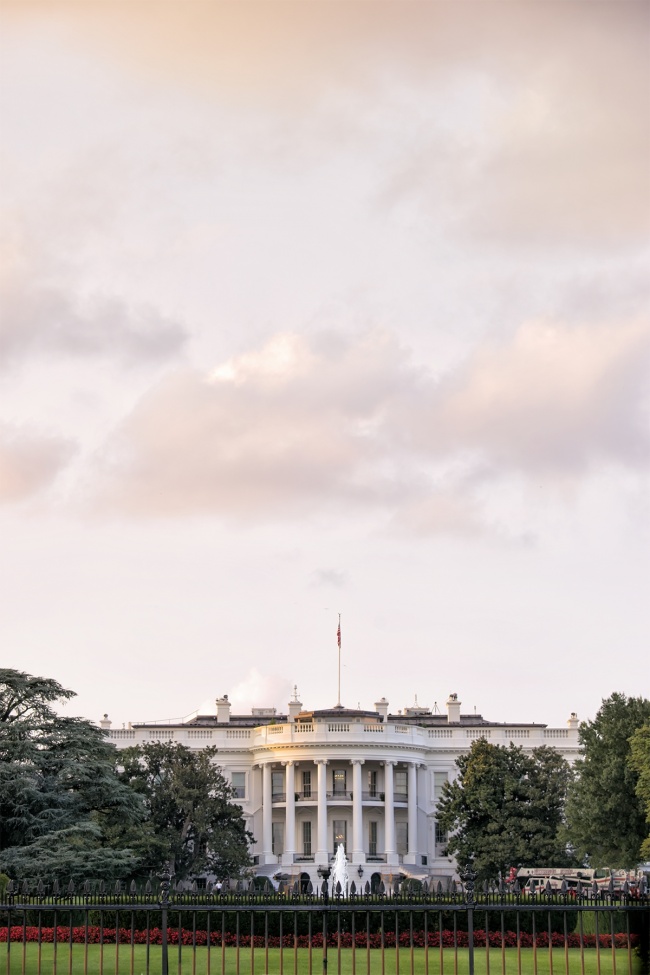
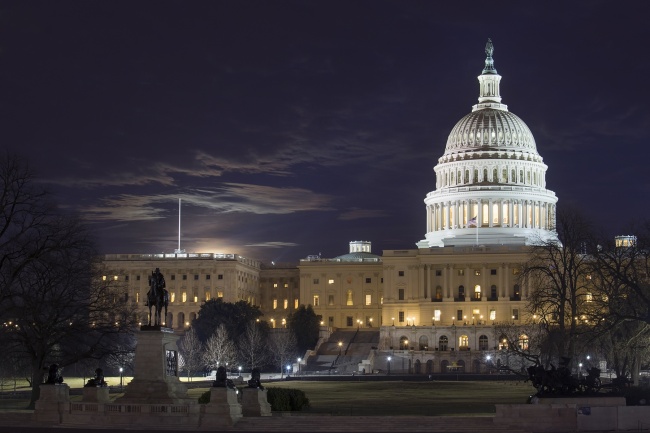
Spring is my favorite time to be in Washington DC. Birds are chirping, flowers are blooming and everyone seems to have a smile on their face. What’s not to love? It’s a special time to be in the city where tourists and locals alike flock to the famous cherry blossoms to admire their beauty.

To fully prepared, I reference this website a lot. It’s National Park Services’ Bloom watch. I think they have the most accurate up-to-date information about the peak bloom. They also break down the stages so that you know what you’re looking at in case you are overly eager and want to check out the trees asap.

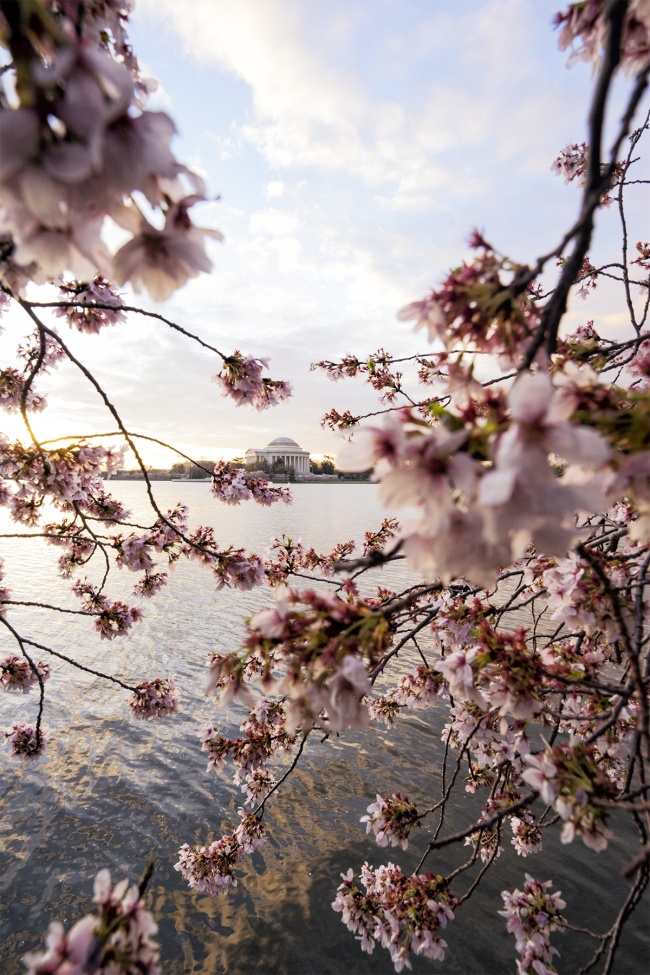
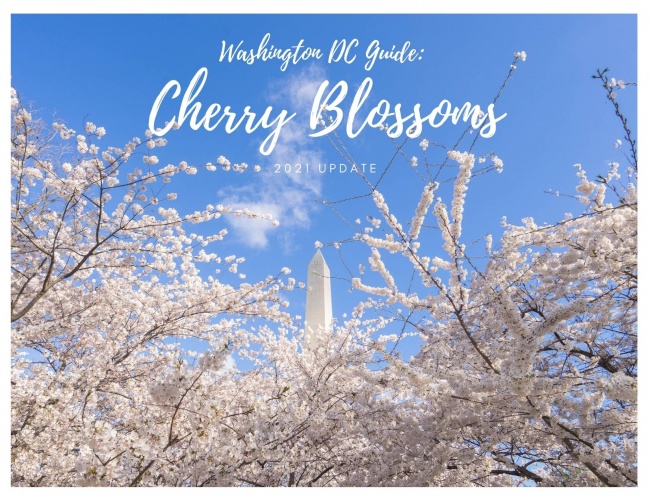
2021 Update: National Park Service is predicting a peak bloom on April 2-5,2021. Meaning about 70% of the blossoms around the Tidal Basin will be in bloom <3 However, this year may be different. With COVID-19 still a concern in the Capital Region, the National Mall and Memorial Parks are encouraging people to watch them from the webcam and decided they would offer very limited in-person viewing.

But just in case we are allowed to visit this year, let me try to break it down for you…

Click here to read more

All photos available for print and licensing >

When people think about Washington DC, one of the first things that come to mind is the White House. But for some reason, it’s never a real go to spot for me to go capture images. There are several reasons for this regardless of who’s residing in the house.

  1. The White House is located in a spot where it’s not great at either sunrise or sunset. The only way to get a really nice sky in the background is if you are lucky with one of those days where the color takes over the whole sky. Those days are so hard to predict that it’s just easier to be closer to one of the monuments as opposed to the White House.
  2. The security around the White House keeps getting increasingly stricter. Since I first started out in photography, you could actually get pretty close to the gate and no one would say anything. Now, you have to be a least across the street. With all the tourists all cramped up in one little sidewalk, it’s so difficult to get a great shot.
  3. If you are want to take your White House shot, try to bring the biggest zoom you can. It will be the only way you can get a close up shot without a lot of people in your image. This image was taken with my 70-200mm at 93mm.

This image also happens to be an image I took just for my book, Snap DC and had never been published before. I definietly remember the day I took this because I remember I parked my car, walked all the way to the White House, and then realized I left my camera in the car. OMG how does that even happen? I swear, only me.

So if you’re interested in more Washington DC photo tips like this, check out Snap DC on Amazon. Just remember to bring your camera with you 🙂

My camera settings for this image is F6.3 at 1/200th sec and ISO 320 with my Sony A7II and 70-200mm ultra zoom.

All photos available for print and licensing >

The other day my friend called me and said “I can’t believe you don’t weigh 1,000lbs”. I laughed and asked why? Her reasoning was that she spent the last week telecommuting and working from home and she felt like she spent every hour on the hour in the kitchen. Each time she’d go in there, she’d find a snack or eat a full on meal which caused her to think she gained 10lbs working from home. All I could do was laugh even more and said, “you’re probably doing that because you’re procrastinating”. We laughed more about how much food she ate and it led me to think how lucky I am to be able to find a “work at home” balance. How many times have you had plans to work from home but wound up doing the laundry or cleaning your countertops because you were avoiding something? You can’t tell, but I’m raising both hands up in the air because it’s something I am constantly struggling with.

It has taken me years to figure out a schedule but no matter how much I think I’ve figured it out- when I’m most productive or what works best for me, it is a constant change. Something that worked for me last month, may not work for me today.

So here are a few tips I’ve come up with for those of you who work from home and still want to be productive:

  • Set a schedule and stick to it like a regular office job. Just like showing up to a job at 9am, you gotta keep to maintain that same mindset. Working from home is great because sometimes you can create the schedule with what works best for you, but you have to be honest with yourself. I used to think I was most productive in the mornings, but more recently I’ve found new inspiration in working in the evenings. So with that said, I will schedule my days to have my most creative times at night and do all the busy work like replying to emails and client work during the day.
  • Change your environment. Sometimes it feels like you are trapped in your house. You spend every waking moment in the house and it’s so difficult to get out in to the real world, especially when it’s cold outside. To break that up, I’ve actually been going to coffee shops to get things done. There’s something about seeing other people work on their computers that motivates me to work on mine. I’ve found myself more focused on my task. Whether it’s preparing blog posts or catching up on photography tutorials, I love getting out of the house with the intention of getting work done. Usually I’ll just leave in the morning and get as much done as I can until I start feeling hungry. I’ll go home eat lunch, reset, and will be eager to get back to where I left off at home. Even if you can’t leave your house, just changing rooms like working from the dining room instead of your desk can cause a major positive shift in workflow.
  • Take breaks. This is where I express my gratitude to Frankenstein. Having a dog has taught me and forced me to take breaks. Whether it’s for a short walk for him to go to the bathroom or a quick belly rub session, Frankie has taught me the importance of walking away from the computer to take a quick breather. These little breaks always put a smile on my face. Even when you really don’t want to, taking these quick breaks has taught me to refocus on what is important and how to prioritize my time more efficiently. I think if it weren’t for him, burn out could come way more easily and frequently.

Those are just a few tips. Don’t worry, I have plenty more. Let me know if you’re interested and I can definietly make this a series.

My camera settings for this image is F8 at 1.6sec and ISO 500 with my Sony A7II and 70-200mm zoom lens. It was taken during a full moon rising behind the US Capitol.

All photos available for print and licensing >

Somehow I’m lucky enough to live right in the middle of two awesome airports, Dulles International Airport and Ronald Reagan Washington National Airport.  But for some reason, I’m always flying out of Dulles. So when the rare opportunity comes up to fly out of Reagan, I take FULL ADVANTAGE! I do my research and try to figure out where I can sit on the plane to make sure I get the birds eye view of the National Mall. If you want to do the same, read on…

I know you can see the monuments if you’re flying north of DC and about 50% sure you can see them when you’re flying west of the city. You definietly won’t see them if you’re flying south. So if you’re flying north, try to sit on the right hand side of the plane. Obviously, when you’re flying back to DC, sit on the left hand side. If you aren’t able reserve those seats, you’ll still be able to get pretty cool views of the Pentagon and Air Force Memorial on the opposite side so be on the look out for those. Either way, window seats are key! And have your camera ready right at take off or when you are descending. It’s  surprising how fast the memorials will pop into your window. You’ll see them as you’re climbing your way up to the clouds or when you’re right about to touch down.

In order to take this image, I was sitting in the window seat, but I had to lean into the middle seat to capture it. My intention was to capture the light coming from the window and use it to frame the monuments. I really like this image, but I also wish I went a little closer to capture only the monuments. Oh well! There’s always next time:

My settings for this image is 1/3200 of a second at F/8 ISO 1000 with my 16-35mm wide angle lens and Sony A7II.


All photos available for print and licensing >

Cherry Blossoms! On one hand I wish they would stick around longer than a week at a time. On the other, I think it’s what makes me appreciate them even more. They’re so delicate and beautiful. My favorite is when they look like kernels of popcorn jumping off the branch.

My trick with cherry blossoms is to photograph them off the tripod. That’s right, no tripod at all. Unless you’re shooting the sky at sunrise or sunset, I feel like the tripod can be restricting. Especially when you’re trying for new angles and points of view. I tend to put my camera as close as I can get to them and start composing from there. They make for great foreground elements as well a good way to frame and using the branches for line. I particularly like this image because the cherry blossoms are coming at you from every which way. Some may say the ones in the very front should be in focus, but I like the out of focus ones the most. It adds an extra element of depth that you wouldn’t get if they were in sharp.

This was shot early morning, right after sunrise. So my camera settings for this image was F/8 at 1/1000th of a second ISO 1000. Not sure why my ISO was so high. That must have been a mistake. If I were to do it again, it’d probably be in the 100 to 200 range. Results would be the same but I’m sure during post processing I had to denoise it to get rid of the small specks.

Here’s hoping we get a normal winter this year and the snow stops falling in February instead of March like it did this year! A lot of these suckers didn’t’ get to full term this year 🙁